I never get S-cracks.
I believe S-cracks come from drying not throwing.
If you start to dry a pot stuck to the wheel head or to a black plastic bat,
you get uneven density from the bottom to the top of the bottom of your pot whether you cover or not.
You may start out with:
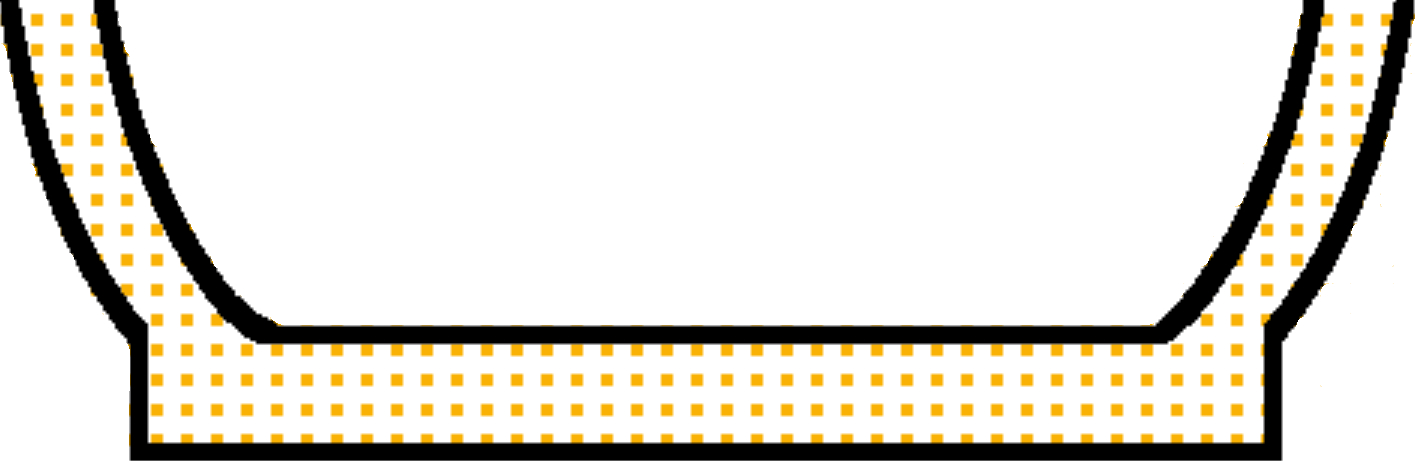
Then as the pot dries with the bottom stuck to the bat:
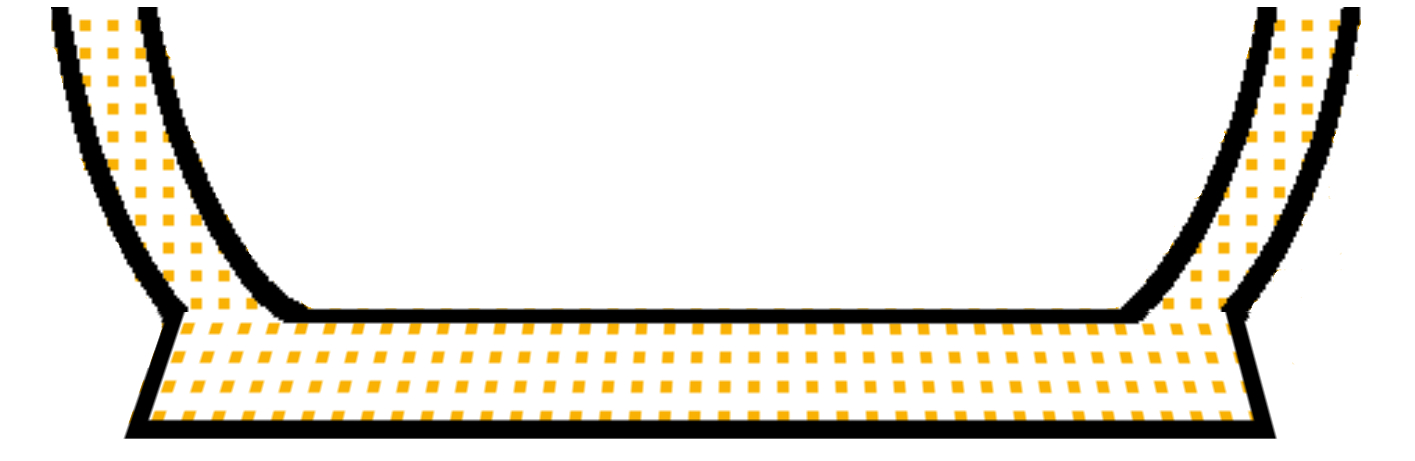
the density near the very bottom is forced to be less than that above. (Drawings exaggerated.)
When throwing, because the bottom is opened up and flattened out in one rotational direction and the sides are
squeezed in the same rotational direction to make the walls, the top part of the clay in the pot is
inevitably pulled in a circular motion over the very bottom.
The platelettes in the clay are moved rotationally more on top of the bottom of the pot compared to the bottom
of the bottom of the pot,
where they are stuck to the wheel head or plastic bat and can't be moved. (Pots twist a
little in a glaze firing. See
twisted).
If stuck to the bat, the pot dries with the bottom most part of it not being free to shrink and rotate as it would be
able to
if it were totally free and dried in the open air.
Dried stuck to the bat, the pot ends up with density and rotational irregularities before you fire.
In the glaze firing, where most of the shrinkage happens, the cone 5-10 fired clay density ends up, after firing,
uniform all over (a logical conclusion since it all ends up "not porous").
The places that start out as less dense end up shrinking more causing gaps (on the bottom you also get the shape of an S-crack because
of the rotation) The gap has to come so that all the fired
clay ends up with the same
density. It is interesting that the S-crack that I saw was also V shaped in depth which indicates that the most shrinkage
happened at the very
surface of the
bottom of the bottom, exactly where I expect the clay to be least dense after it was dried stuck to the bat, after throwing.
I suggest you take your pot off the wheel right away and
let it begin to air dry, right side up, on thin, flat, flexible, loose, dry plastic (such as a plastic bag from Chick-fil-A or any thin grocery bag.),
on top of a clean, flat, dry smooth surface.
You can even put a second piece of dry plastic shopping bag under it, to be sure the plastic is free and on a slippery enough surface underneath to flex with the drying pot.
.
The top of the sides always
dries fastest in open air so don't go by the top. You won't see the plastic gather and wrinkle all around the outside of the pot until
the bottom dries some, but it is usually much sooner than you expect.
(wrinkles.html in the plastic prove that some uninhibited shrinkage occurred.)
When you see that the plastic wrinkled enough and the bottom is getting hard, turn the piece upside down and remove the plastic, by peeling it back, flat, against the bottom.
Then put the piece on a screen shelf upside down.
By then the top and sides are hard enough not to deform so sitting upside down will not hurt the piece.
If you need to, let it dry in air some more, totally uncovered, upside down,
until the bottom is the dryness you like for doing whatever you want to for the feet and bottom. After that
let it continue to dry to bone dry, uncovered, on the screen so that air can get at it all over with no constraints.
Air drying is nice because it might take only two days total to have a pot nearly ready for bisque. Depends on humidity.
If you wish, let me know if this helps. My email is: helend@his.com
I personally throw my pots directly on thin plastic sheeting. Throwing on plastic is my invention. It is a little tricky.
because the plastic likes to pull and buckle or stretch. Making the clay especially slippery when centering helps.
A folded wet chamois cloth on both hands works. I make my bottoms very thin, and then I do not
have to cut feet. (Perfect for pie dishes.) You are welcome to try it.
Jesus told his disciples "Freely you have received;
freely give." ---Matthew 10:8
I know He was talking about spiritual gifts, but I am happy to share this likewise.
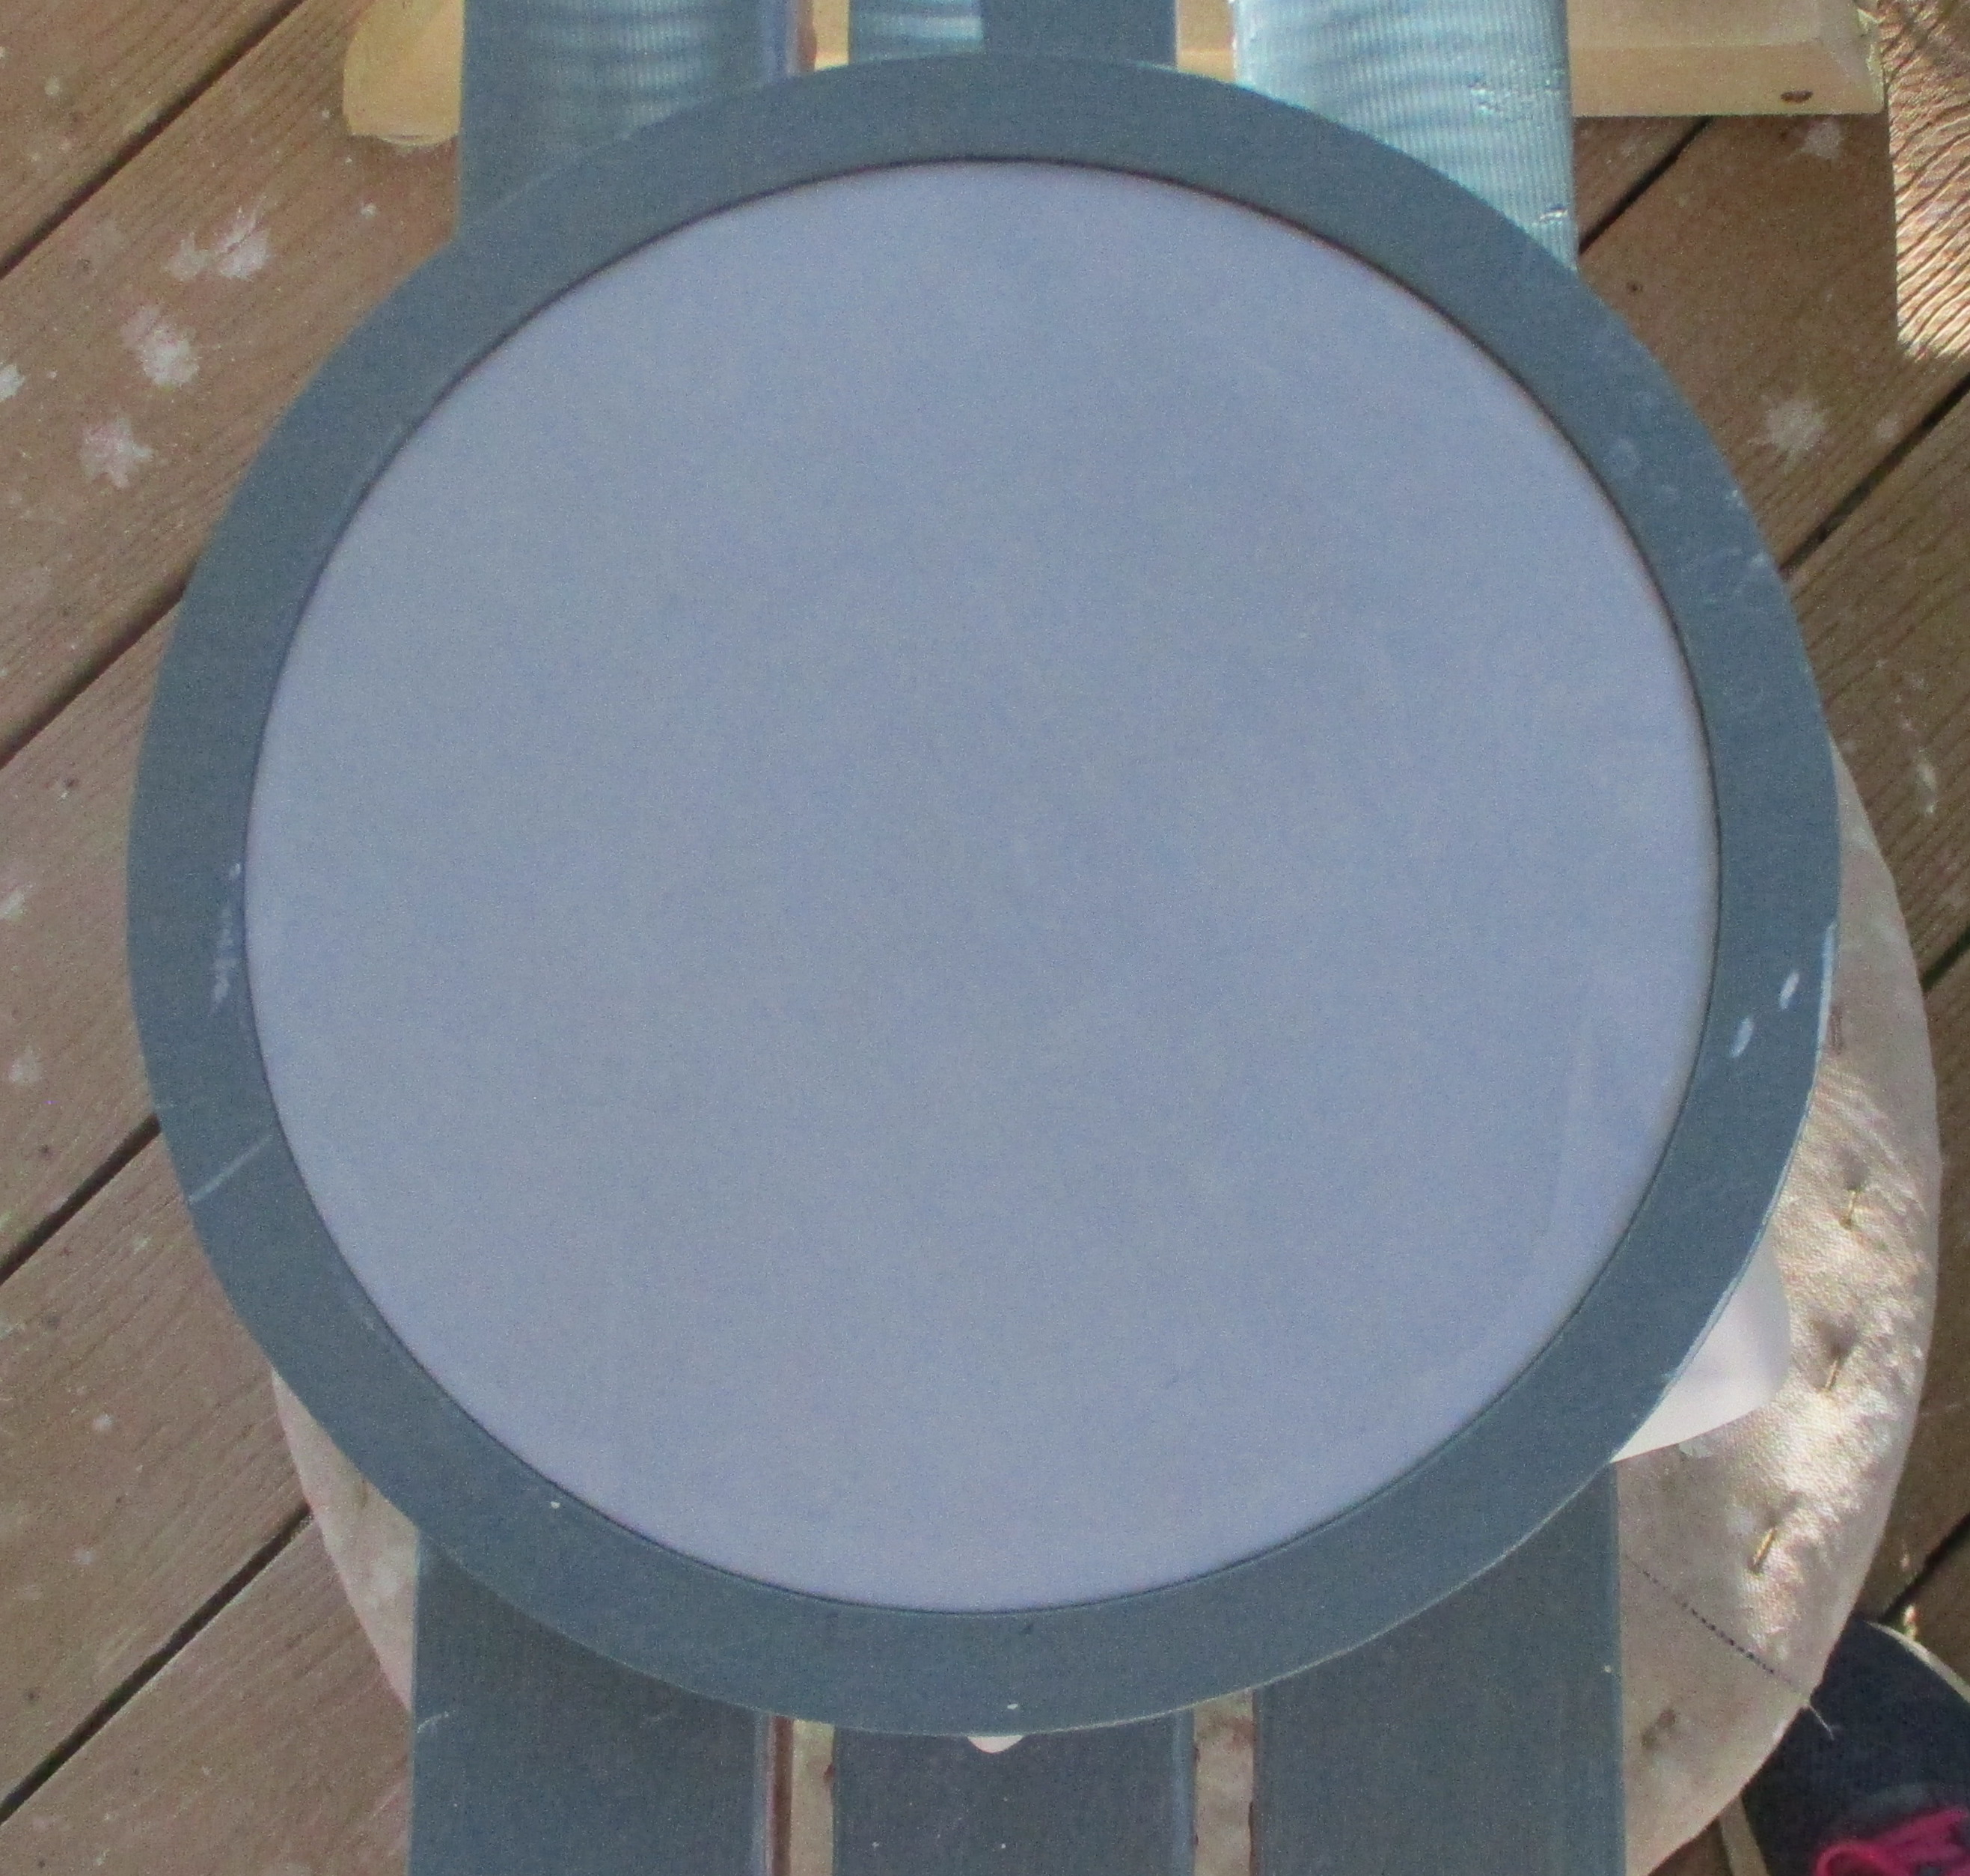
I set up my wheel heads in two different ways:
A. Embroidery Hoop

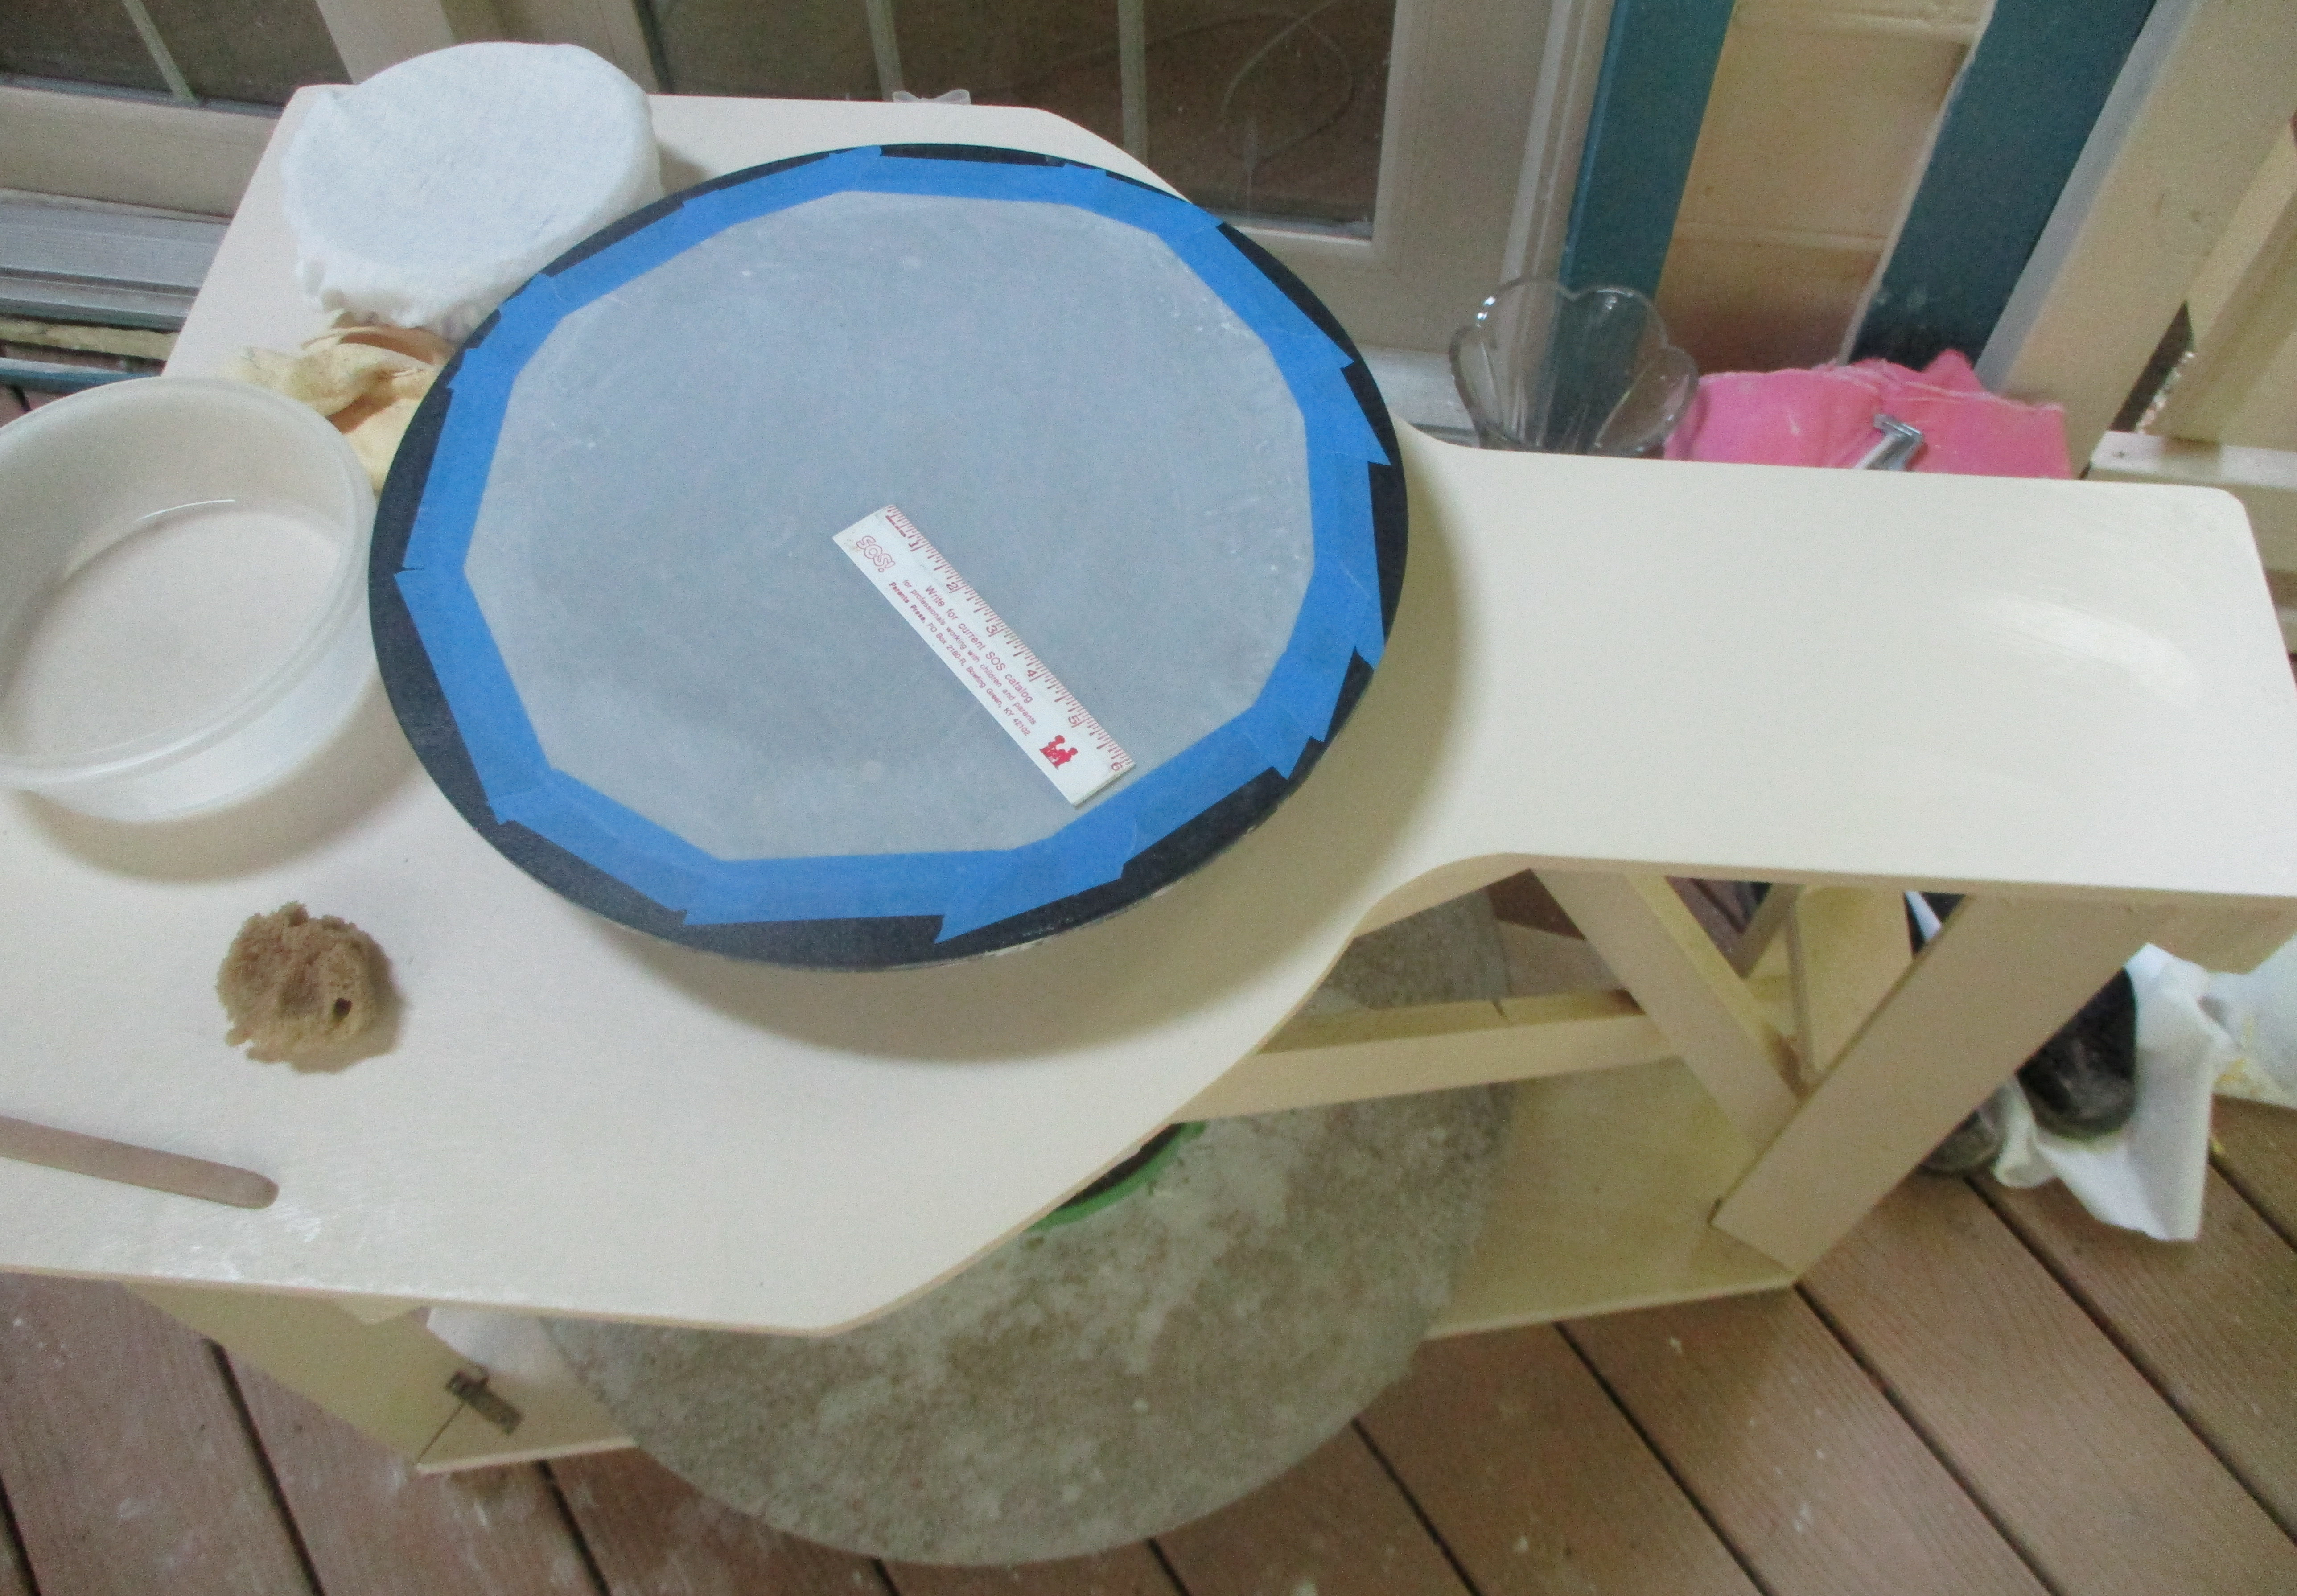
B. Painter's Tape
Use a plastic sheet that does not stretch but is flexible.
This whitish one is a piece of recycled shower curtain/liner (an area with no mildew stains -
).
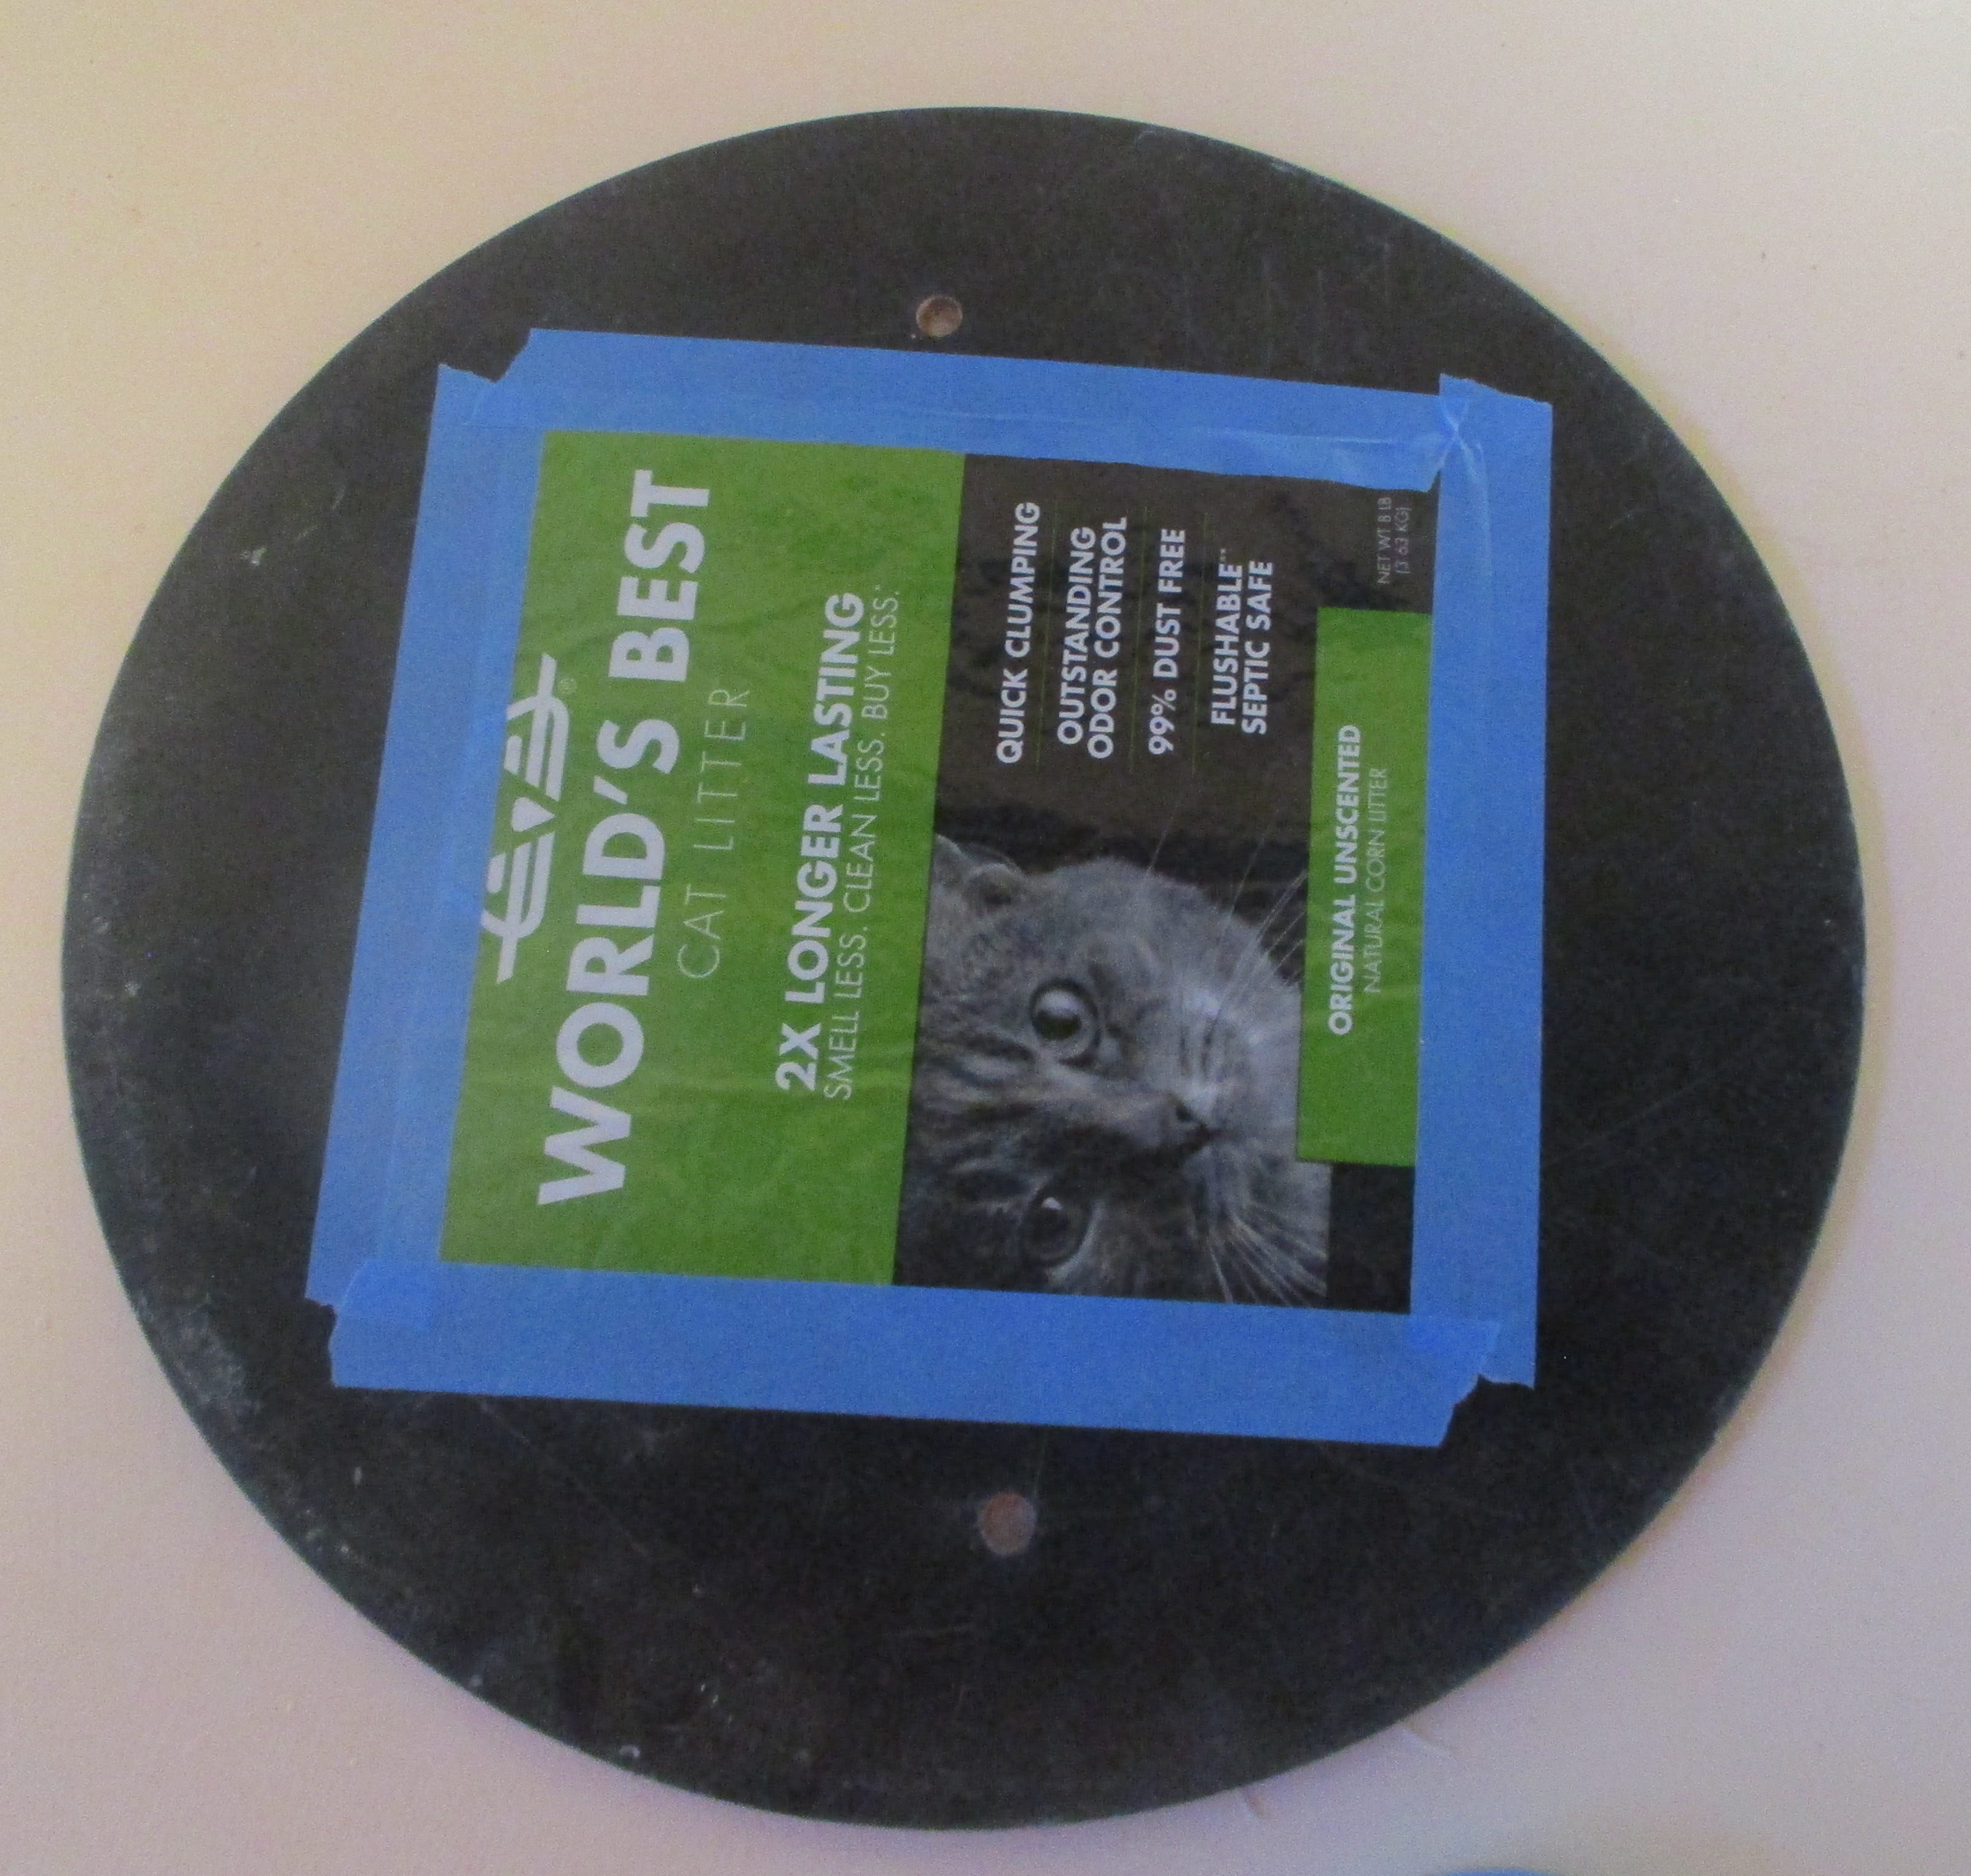
The kitty litter bag works nice too, in fact the pot will slip on it while drying if you let it go too long, which is good.
Make sure all the edges are covered with tape so water does not get under.
You might need wider tape for an electric wheel.
IMPORTANT: Take the hoop or the painter's tape off right after throwing.
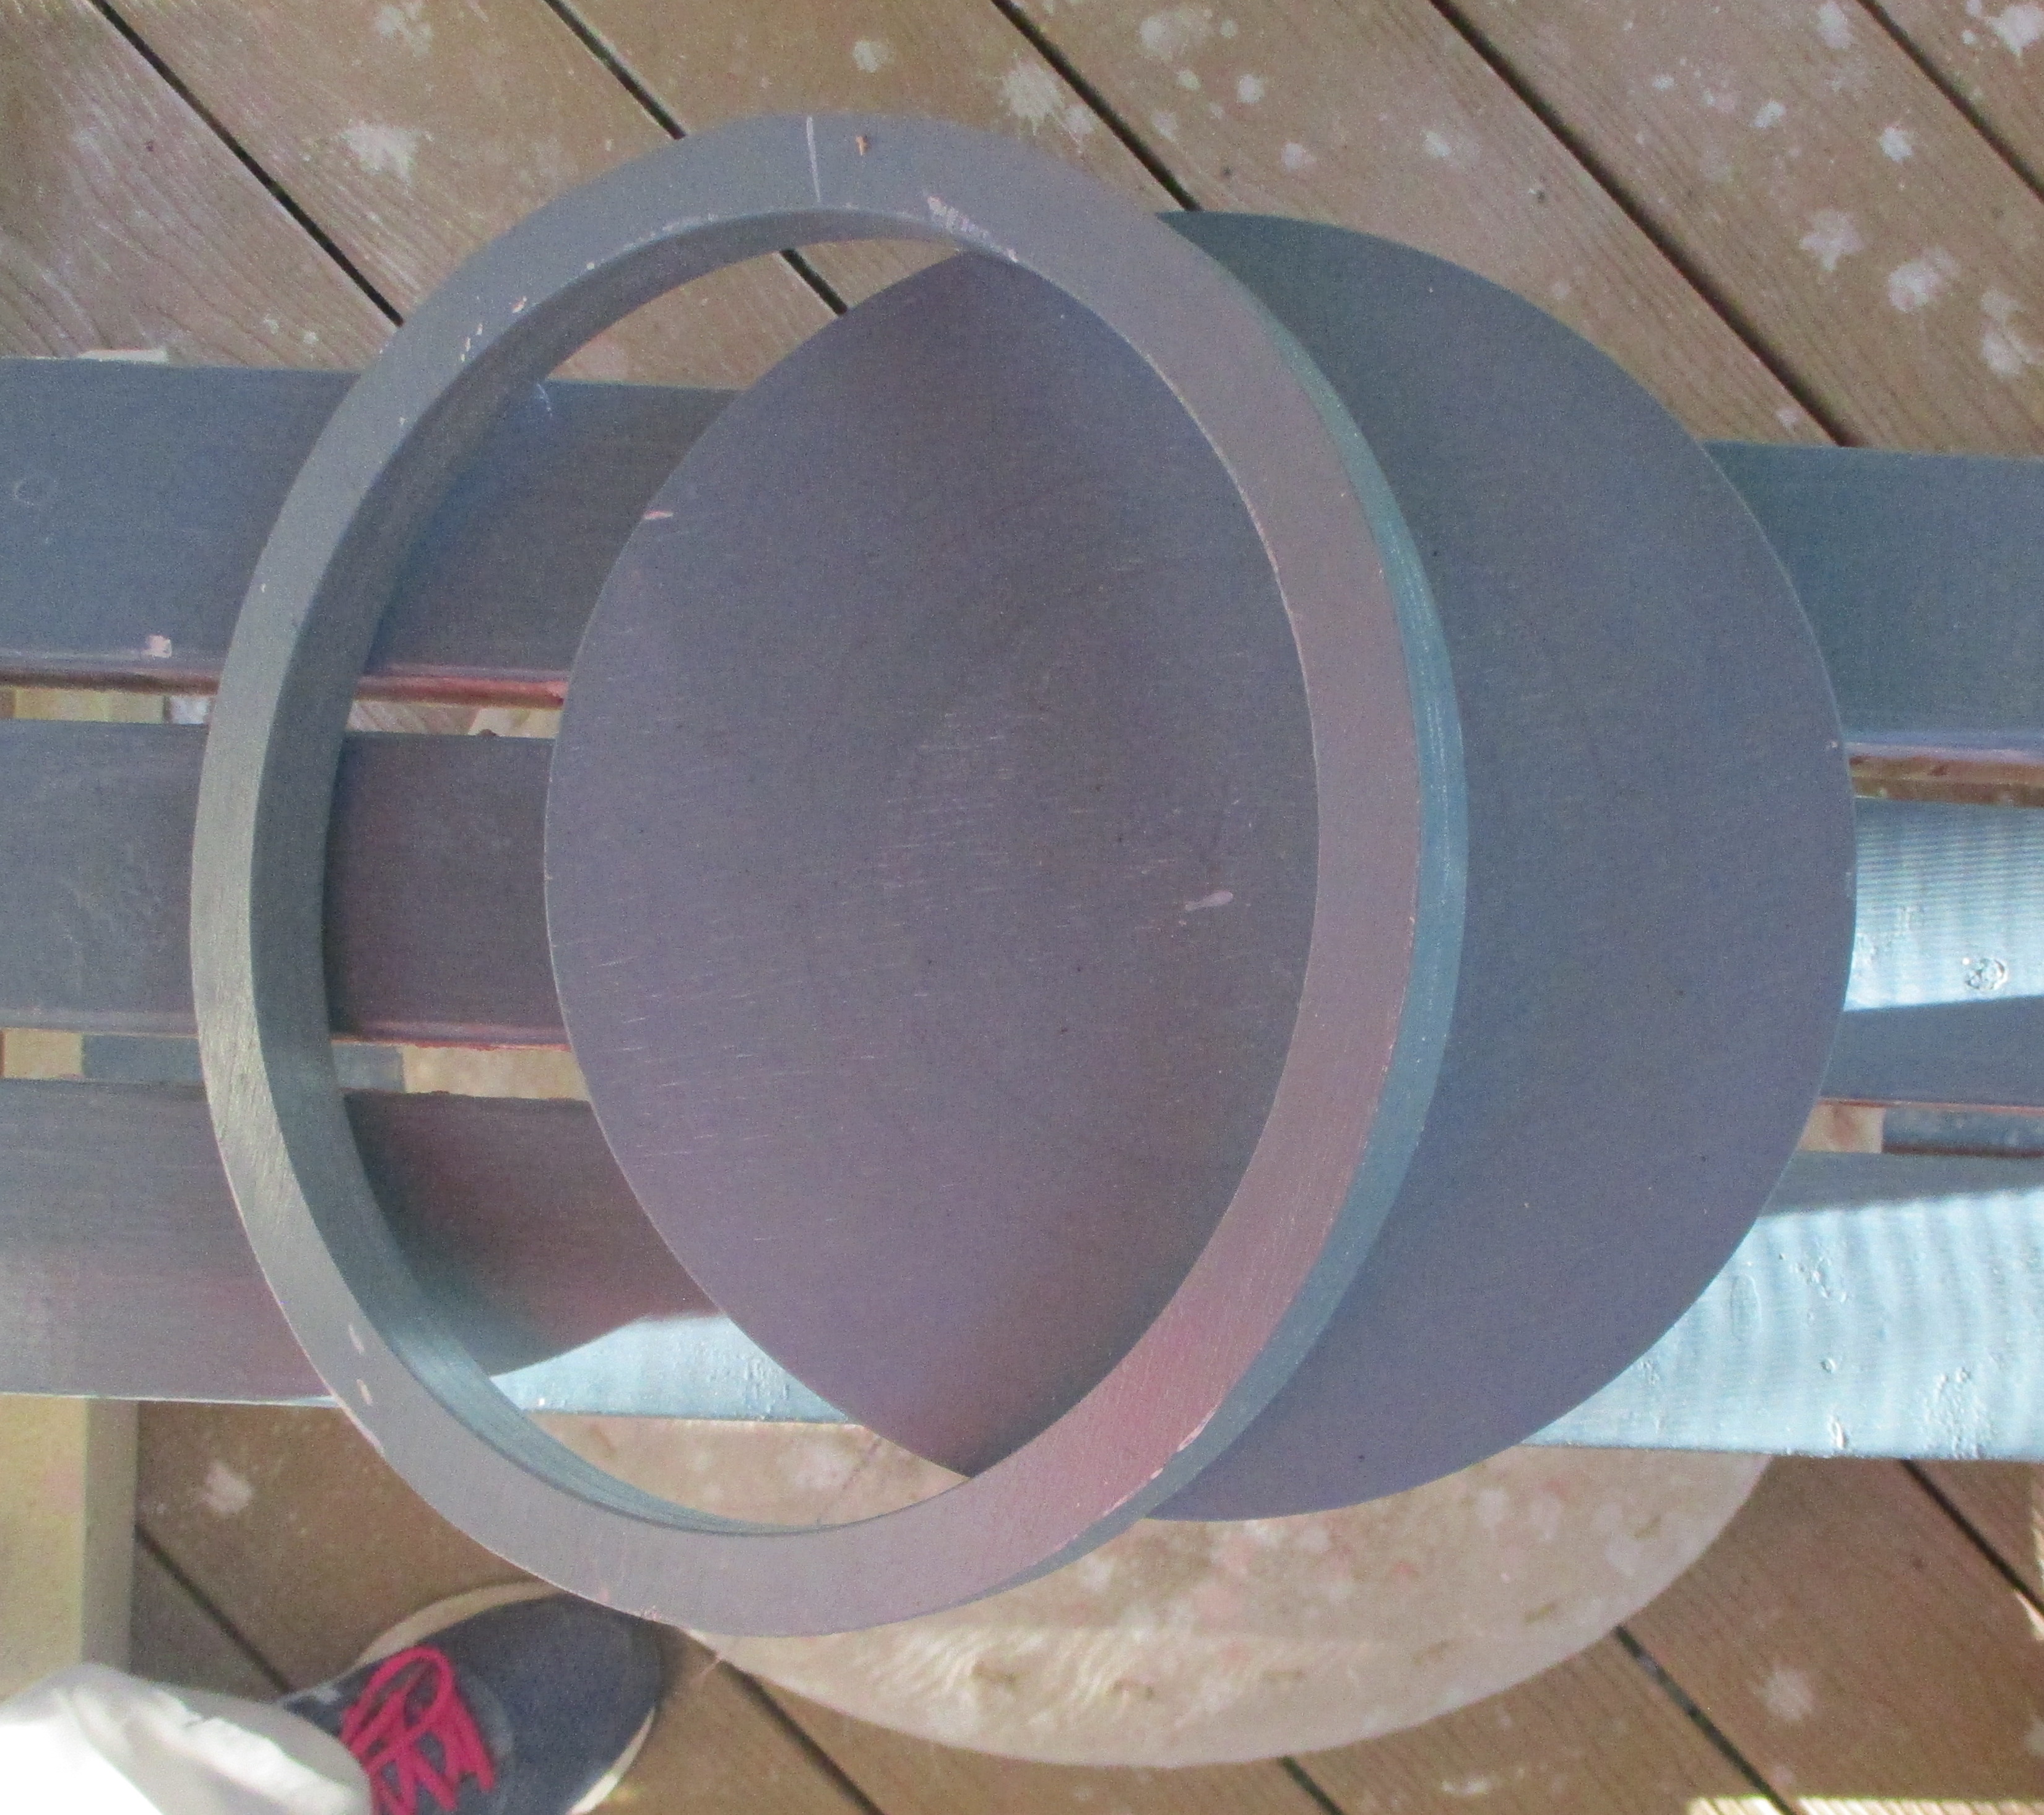
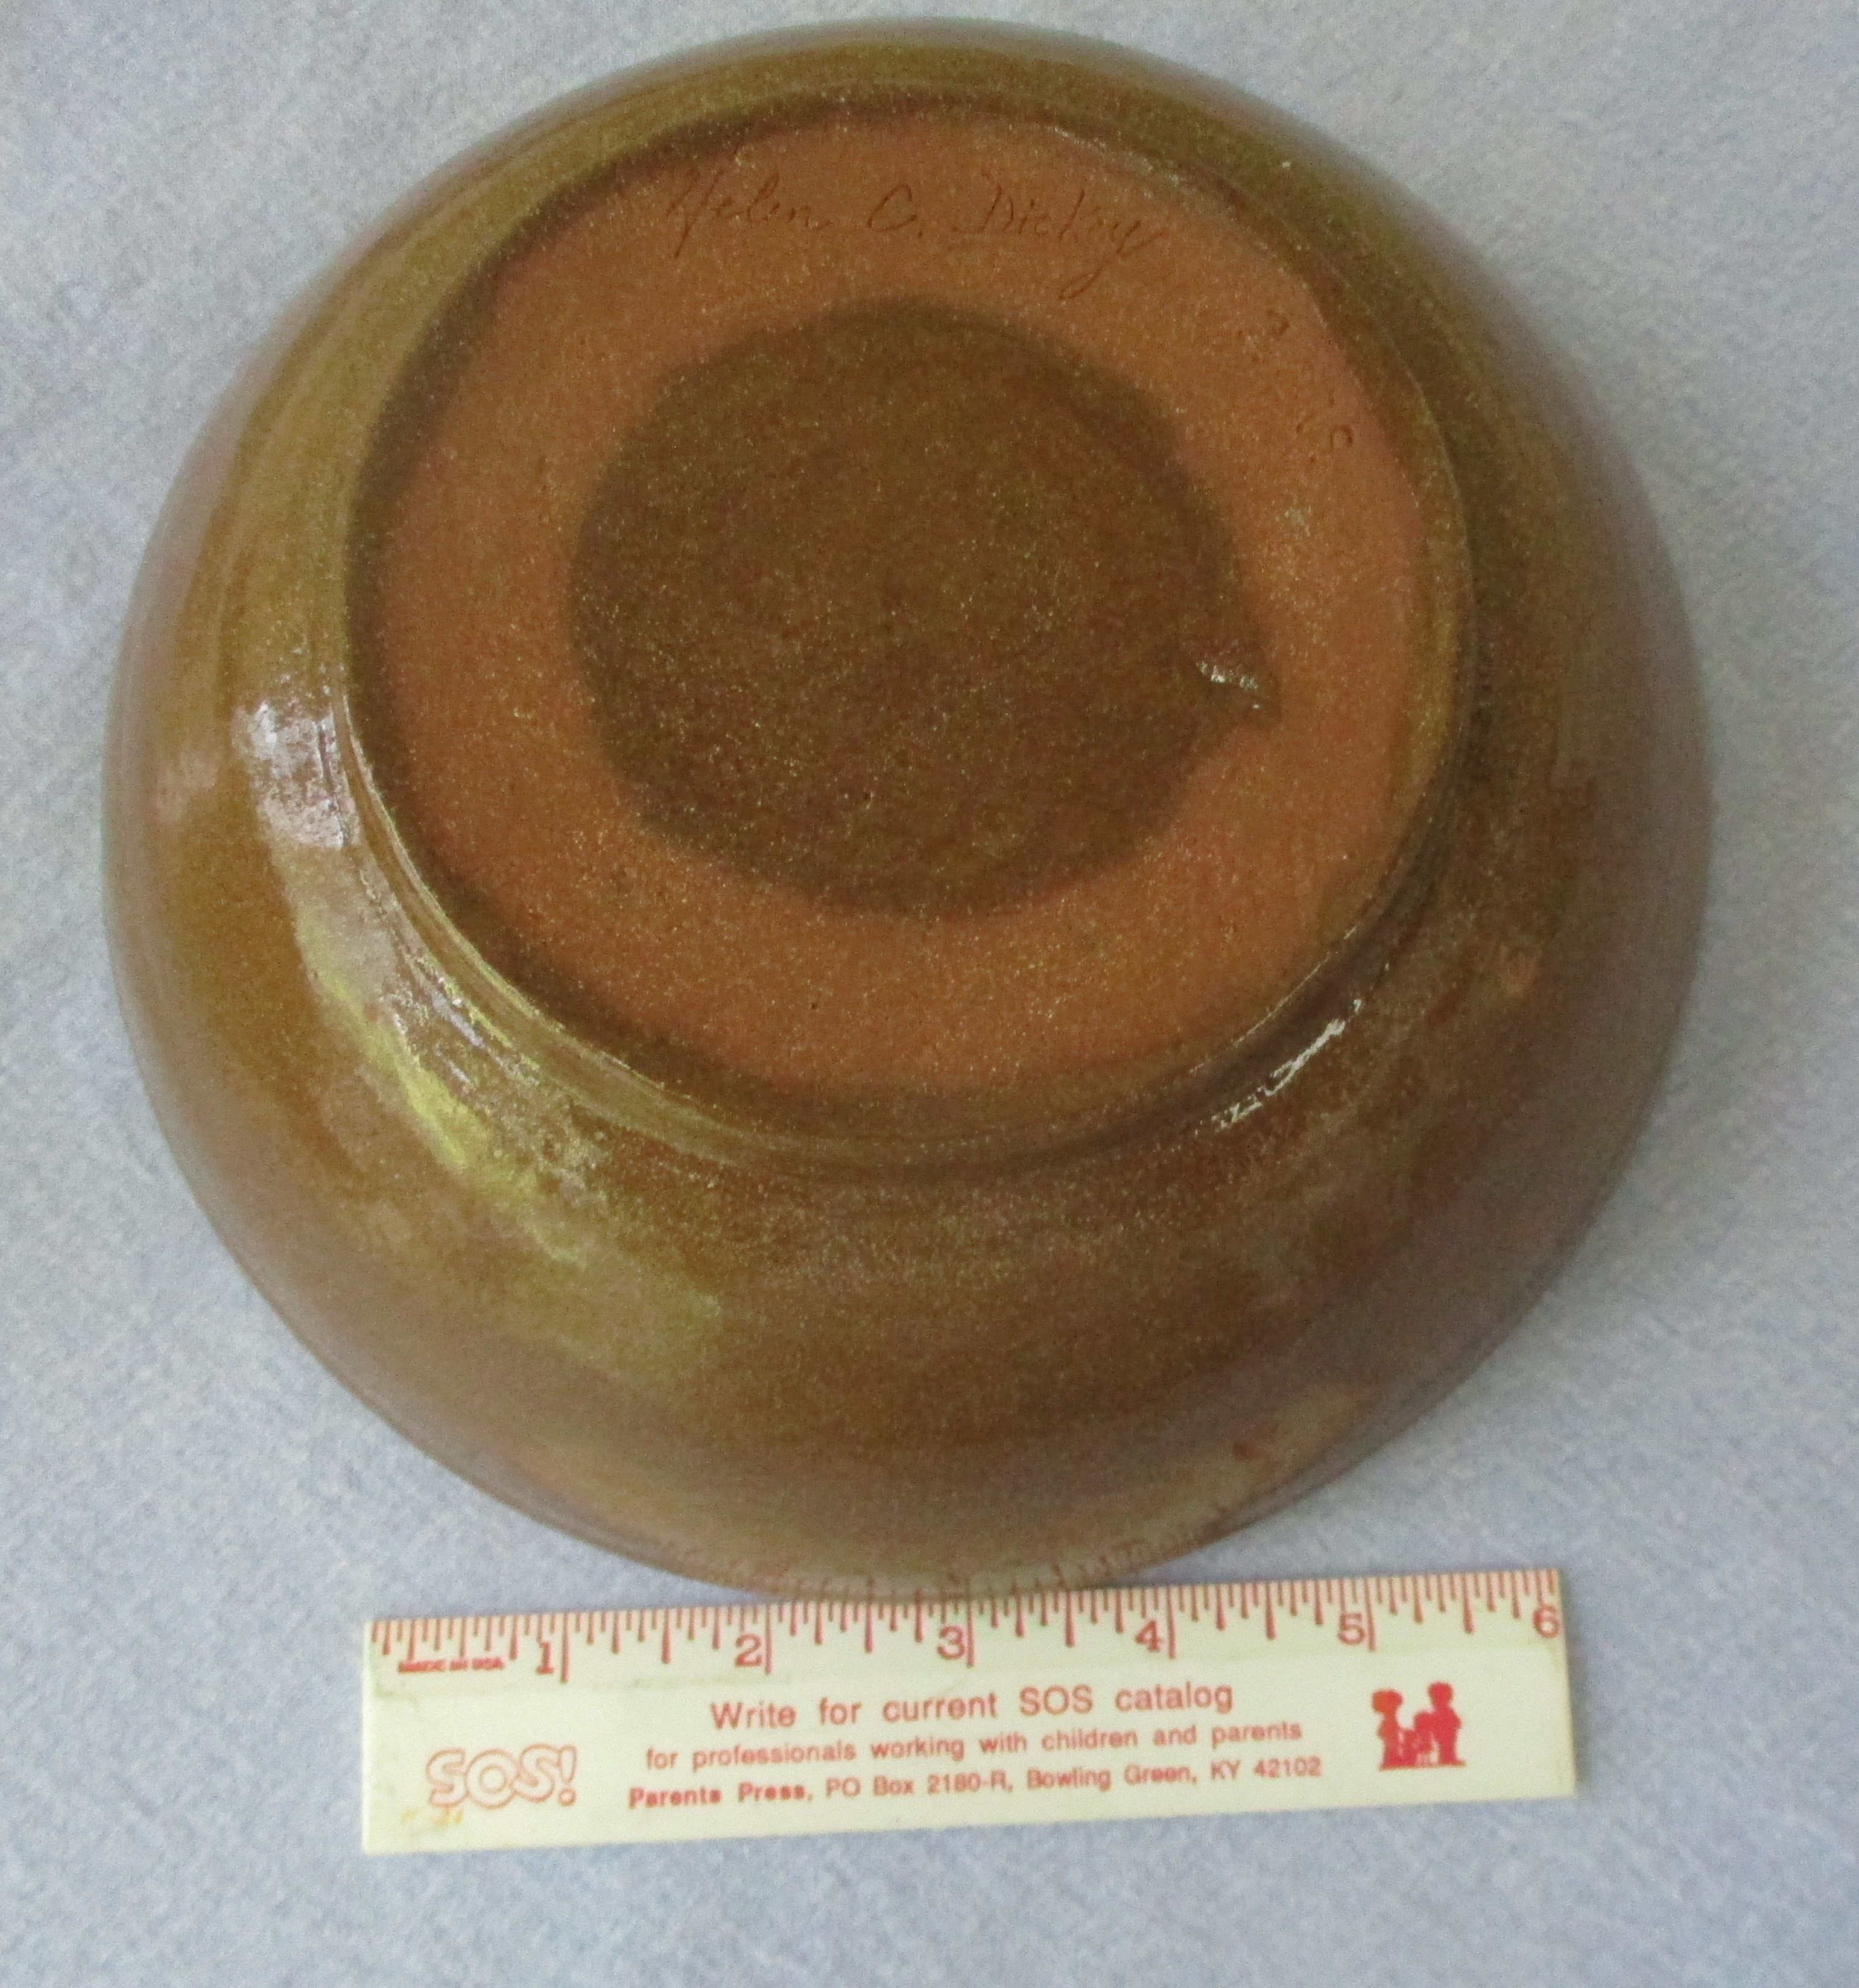
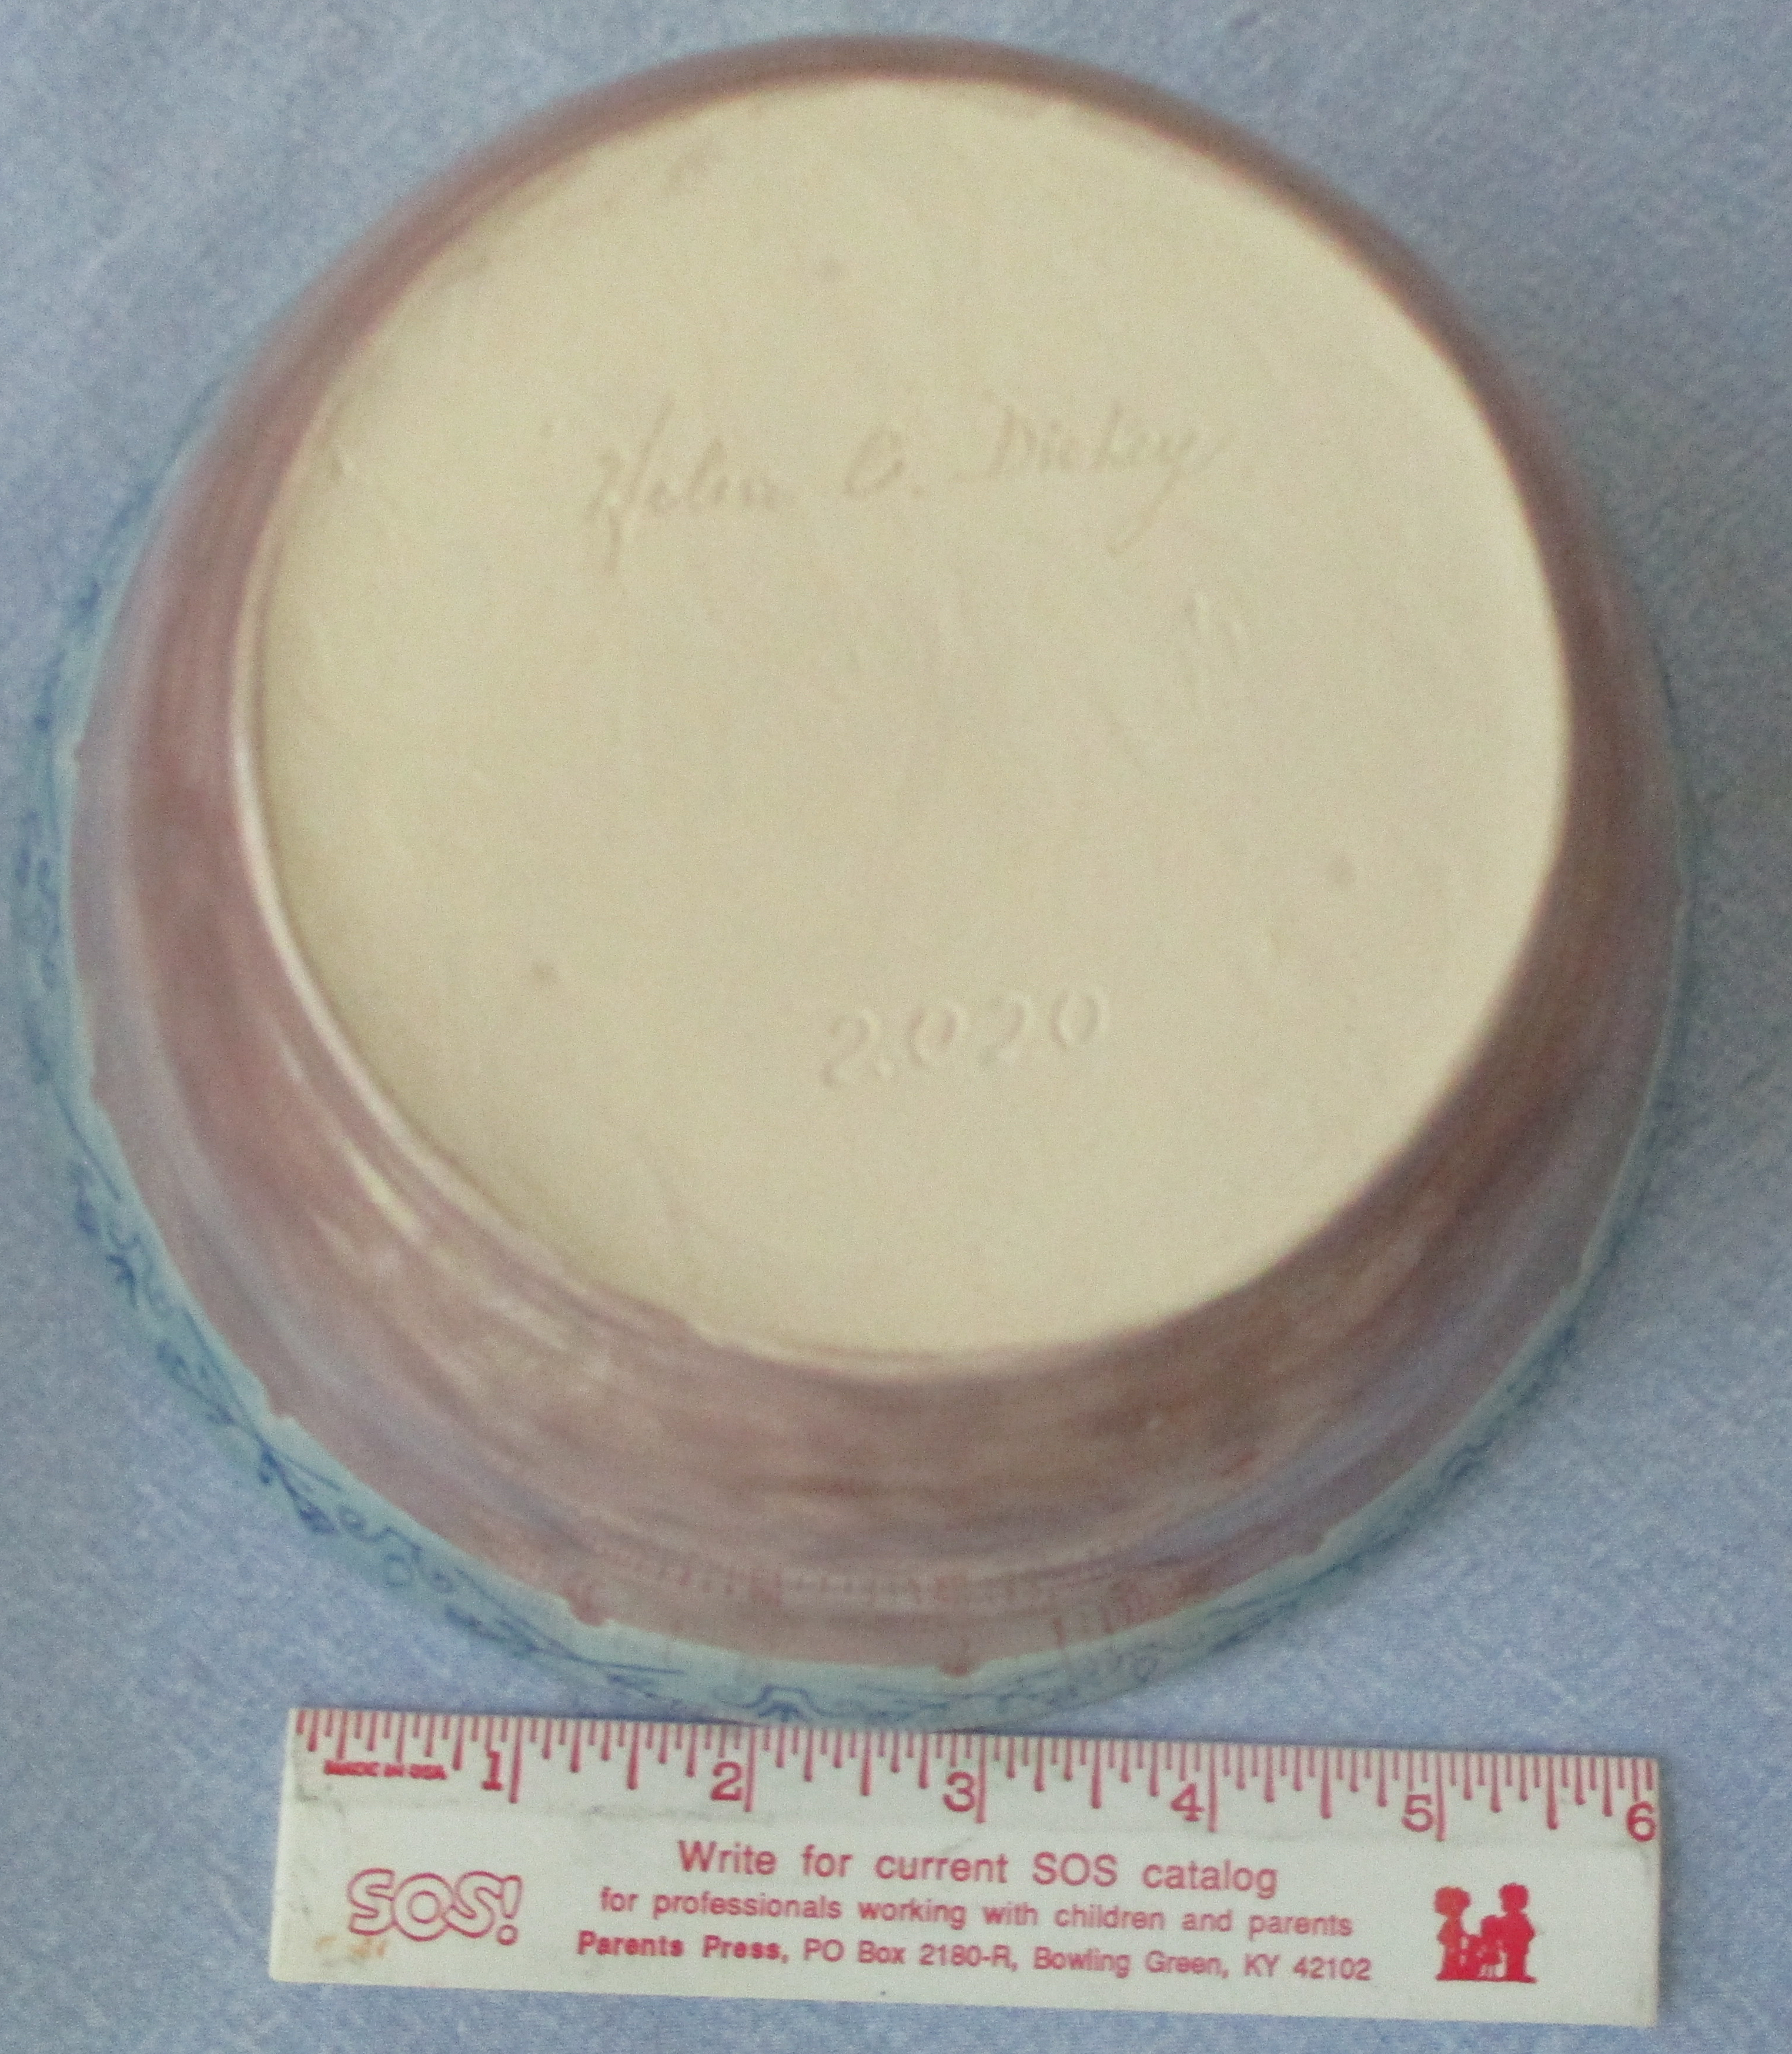
Here are photos of some of my bottoms: (Those two little green spots, in the first one, were just me testing the colors.)
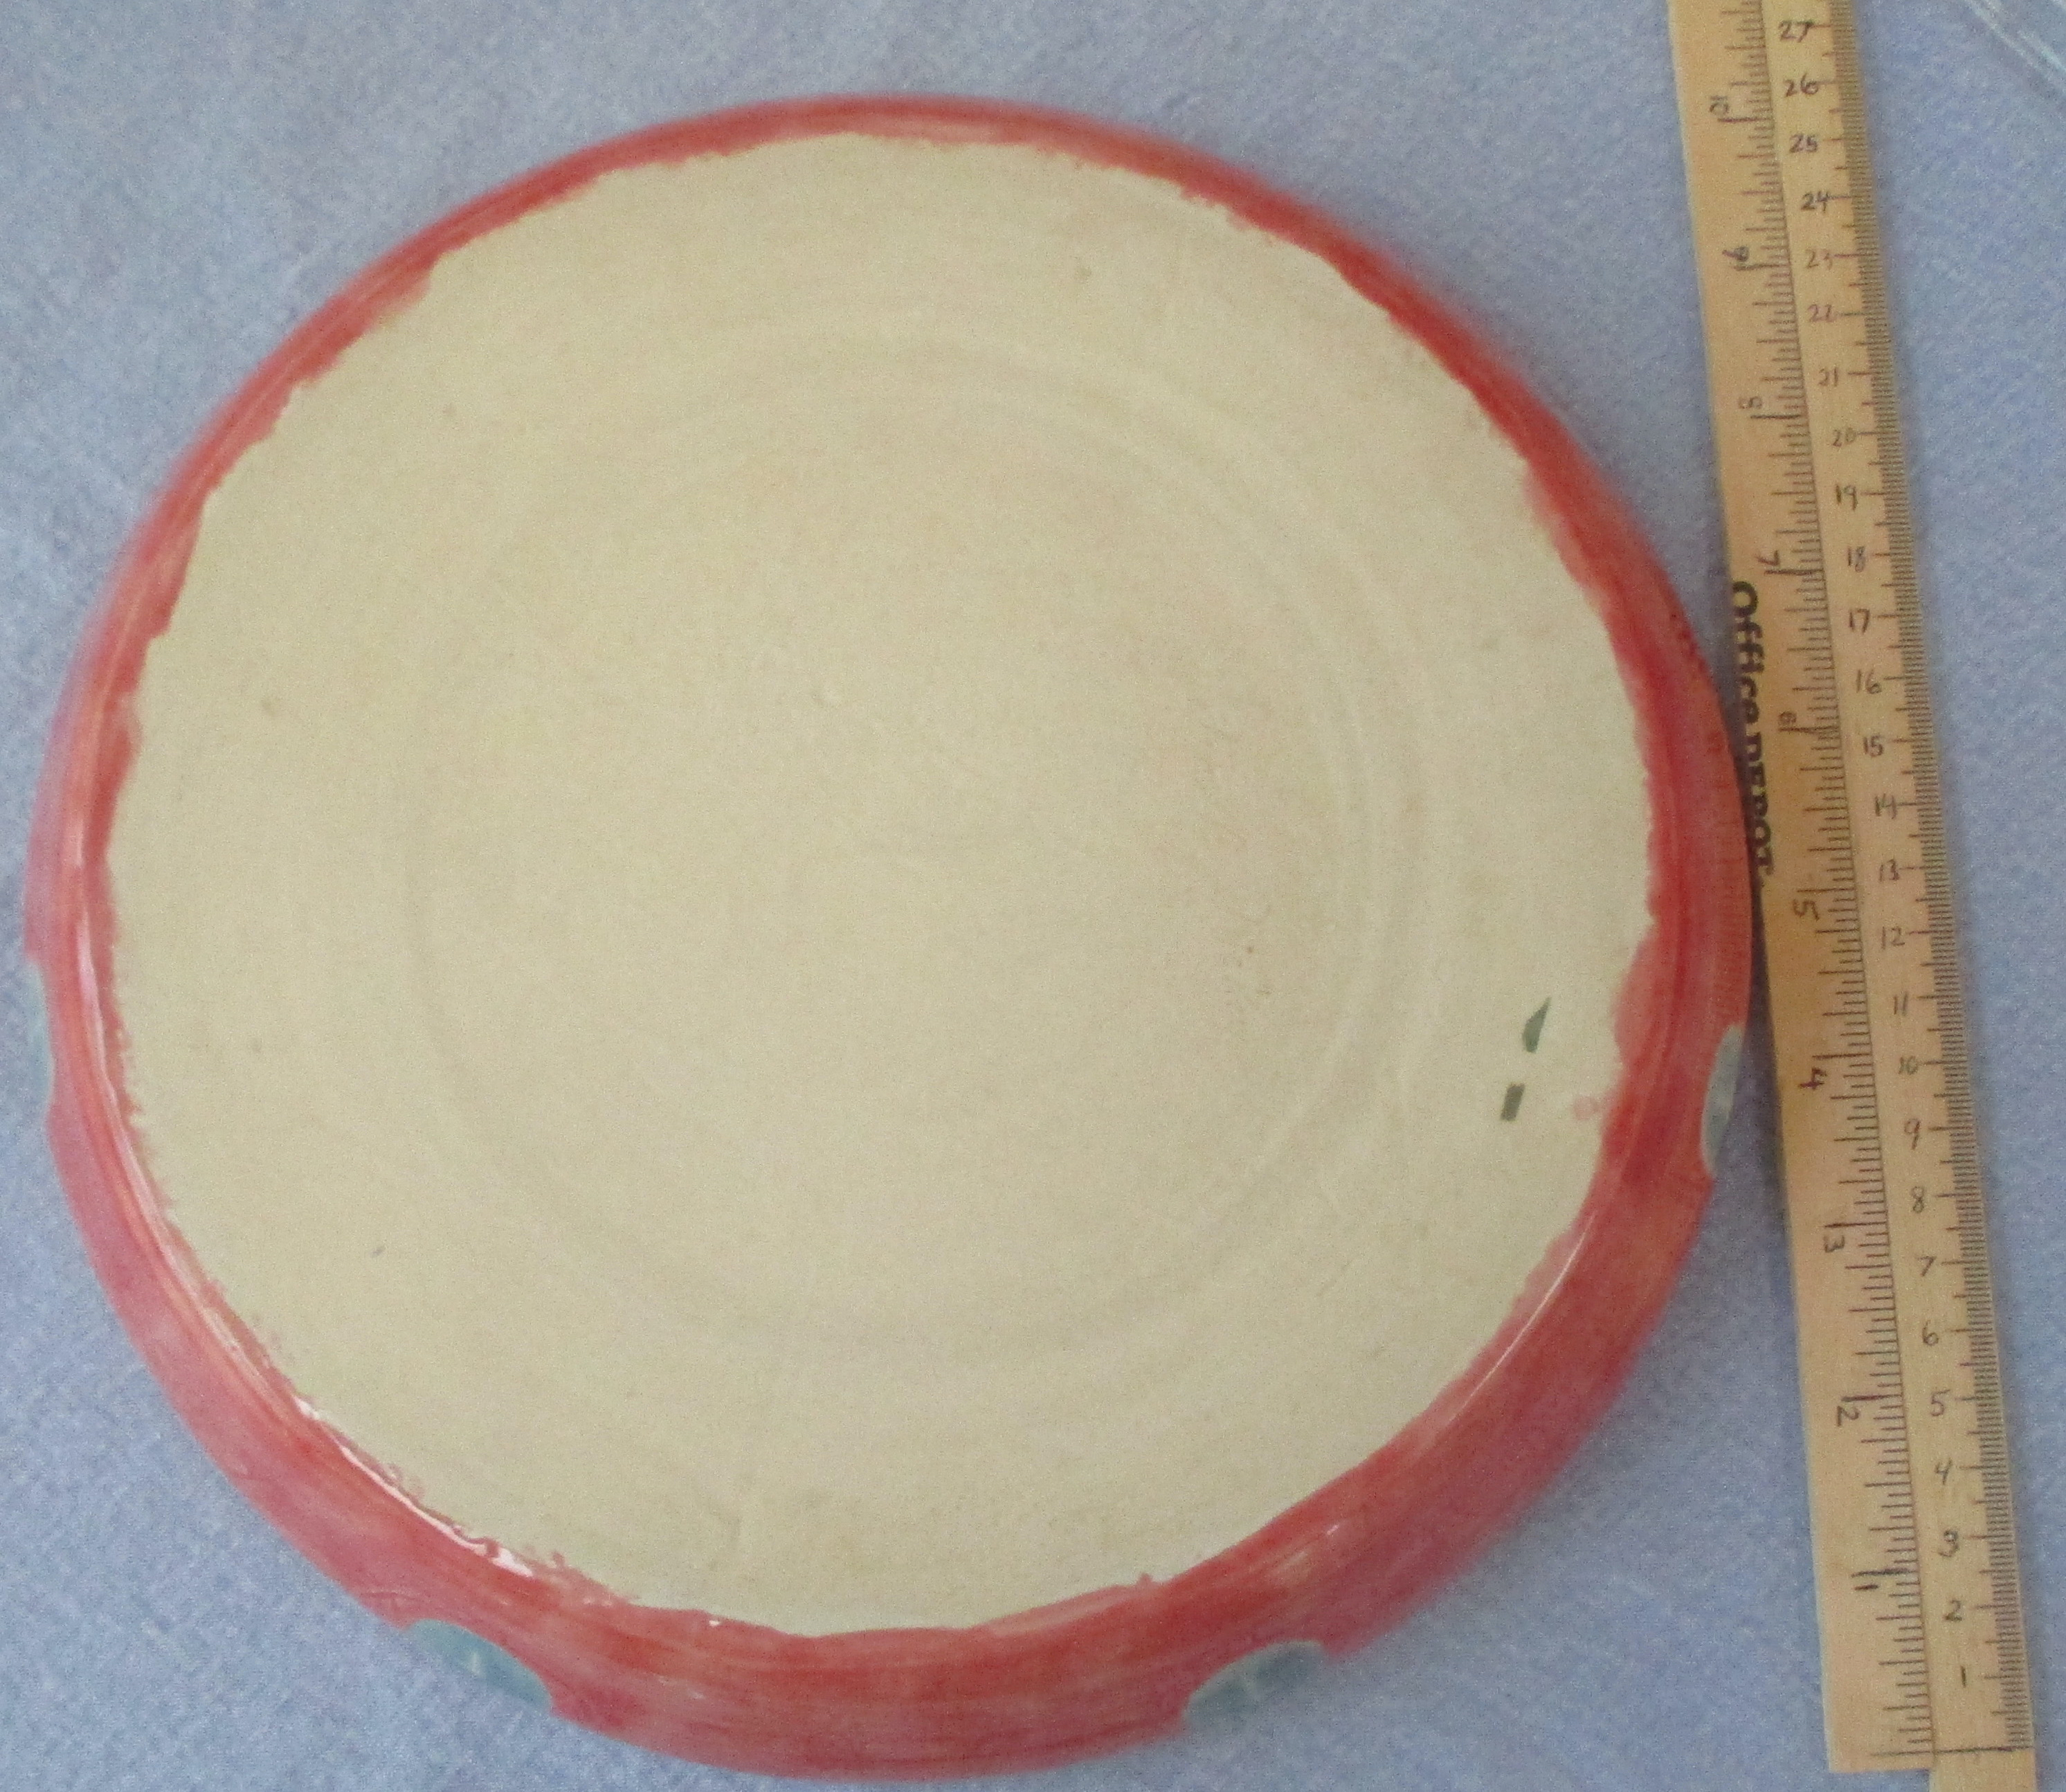
I like my glaze to go way to the bottom and over the edge under. I fire the pots sitting on clay balls.

This is another link to my creation web pages. Please check it out: